


1. Opening the box
·
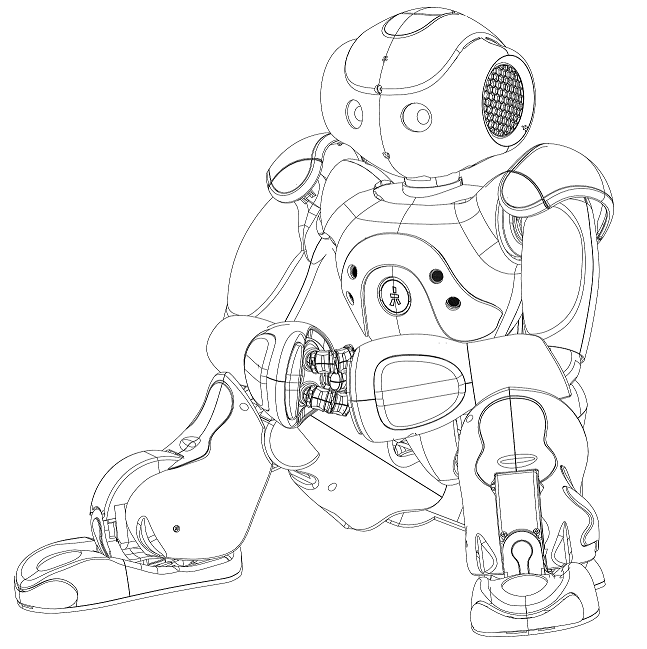
Remove NAO from the box and place him in a
stable position
·
Charge NAO: plug the battery into his back
before use

2. Turn NAO on
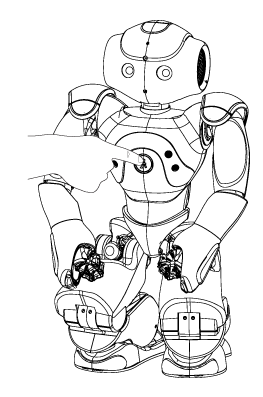
· Press and hold his chest button for 2
seconds: he will boot up, then say his name and his battery level.
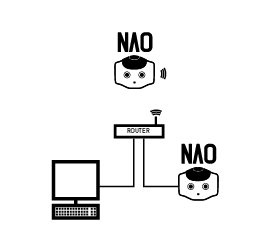
3. Connecting to NAO with Ethernet
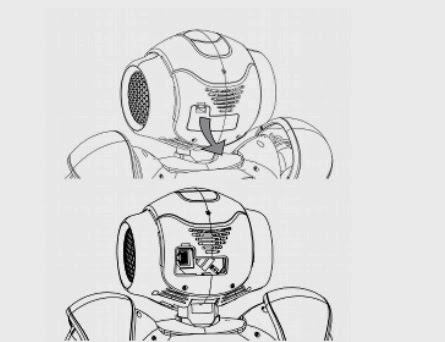
·
Remove the hatch behind his head to allow
access to the Ethernet socket.
·
Connect NAO to your router via an Ethernet
cable.
·
Get his IP address: press his Chest button.
He says his IP address (e.g.“192.168.1.4”).
·
Open an Internet browser, type the IP address
which NAO has just spoken into the address bar and press Enter.
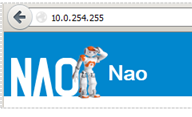
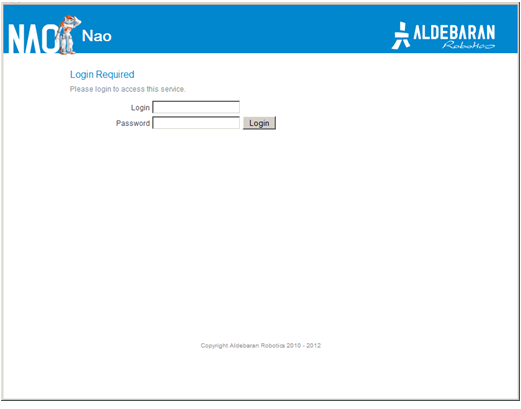
·
NAO’s webpage opens. Type in the login and
password: “NAO” for both.
·
Change your NAO's name!
o
Go to Settings and choose a name.
o
To turn NAO off, press and hold his chest
button for 5 seconds. NAO may fall so make sure he’s in a safe position.
o
To force NAO to perform an emergency shut
down (not recommended in normal use) press and hold his chest button for 8
seconds.
o
Turn NAO on such as before.
·
Return to your NAO's webpage, with its IP
address or by typing your-NAO-name. local in your browser.
4. Connecting to NAO with WiFi
 or
or
·
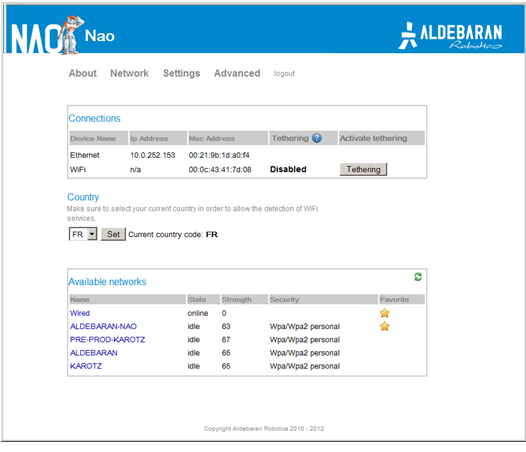
On the webpage of the robot, go to Network.
·
In the list of available networks, click the
one you want to use.
·
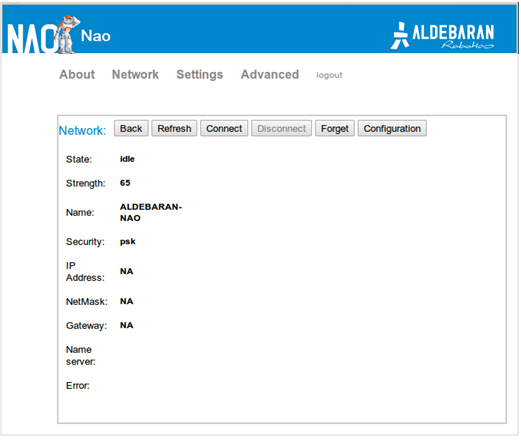
Its configuration page opens. Click Connect.
·
Note: the router should act as a DHCP server.
Wireless connection parameters: WEP, WPA or WPA2 Personal (channels 1 to 11;
channels 12 and 13 are not supported).


0 comments:
Post a Comment